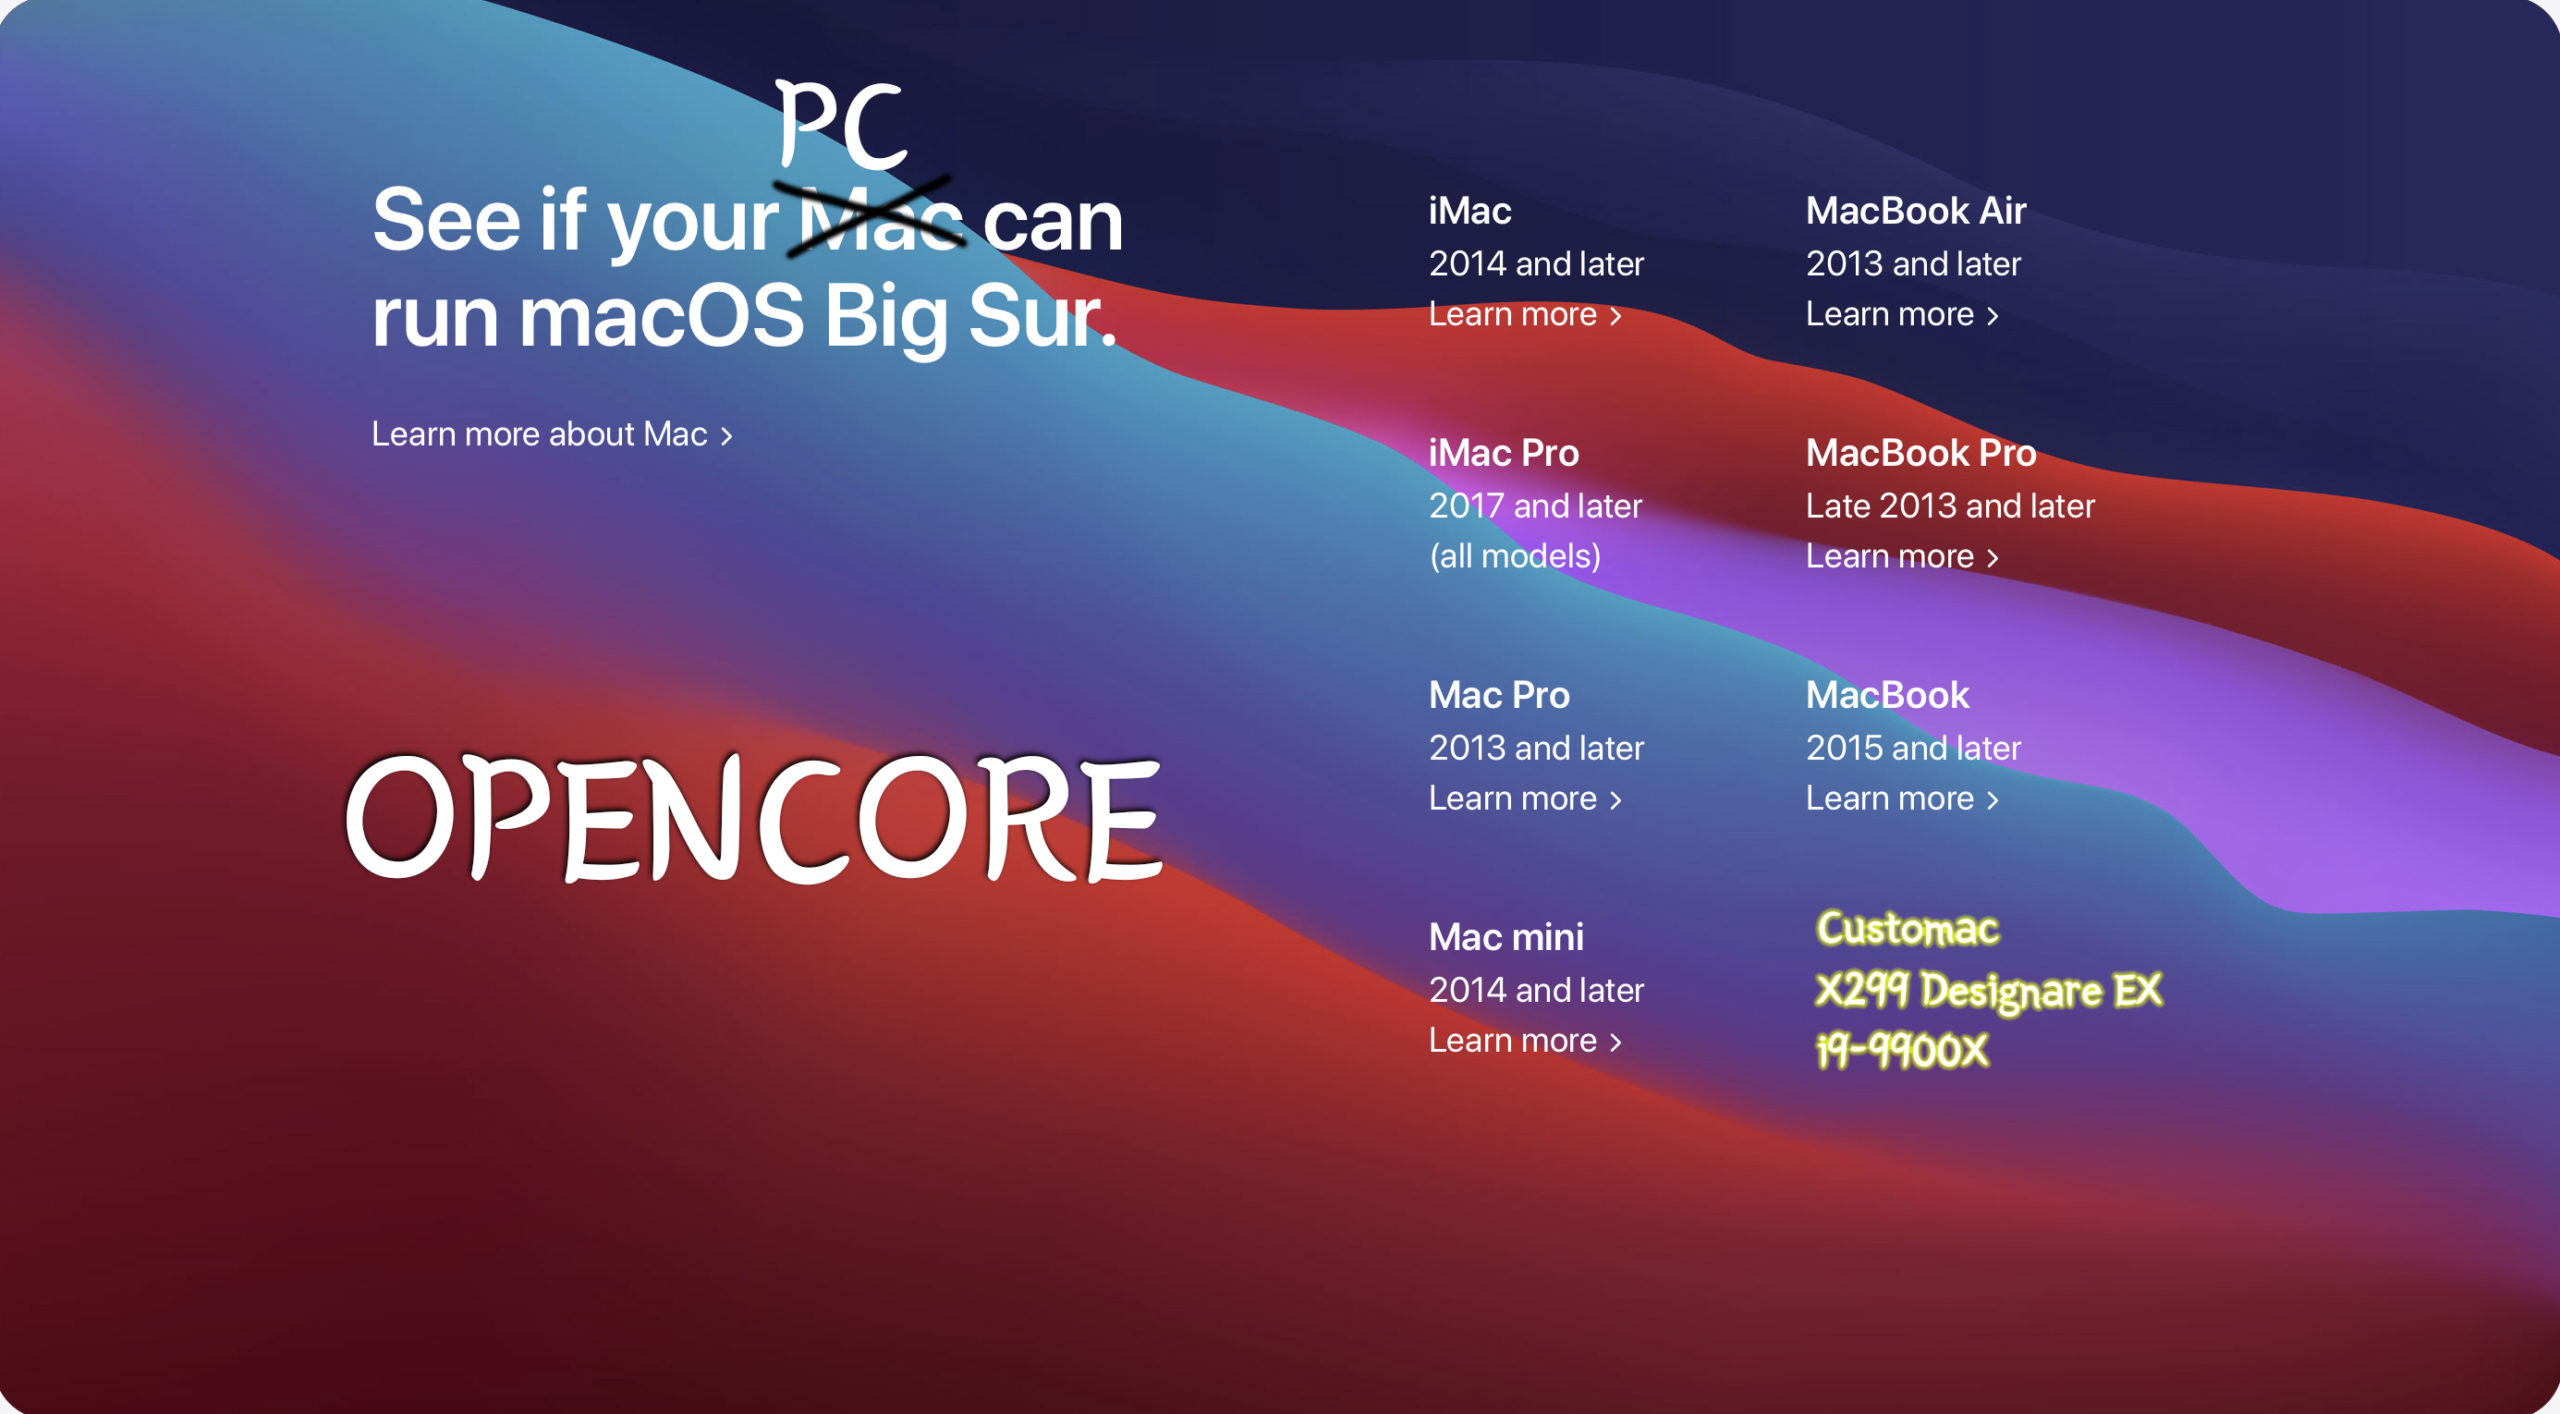
Hello Folks! I just finished building my own customac in macOS Bic Sur system. In this time, I used a new boot loader called ‘Opencore’.
As you guys know, I used to use Clover boot loader instead, but this new macOS Big Sur (Version 11.0.1) is more reliable on the Opencore system. It is possible to use Clover as well, but there are some unreasonable errors and inconvenient issues during the clean installation. For more stable system to be owned, I’ve tried the Opencore boot loader and I successfully installed macOS Big Sur in my X299 Designare EX system. It is so far so good!
[It might be not working if you have a different motherboard or CPU. This Opencore EFI might be not working for your system and it is all your responsibility to fix it]
There are two EFI folder you can download.
- Basic Opencore EFI for X299 with 10-core Intel CPU like i9-9900X
- Advanced Opencore EFI for Gigabyte X299 Designare EX with i9-9900X CPU and Radeon W5700 GPU.
What is the differences of between two files?
- Basic EFI is only for installation it would be working in commonly with other X299 boards. I recommend it for the first time installation.
- Advanced EFI had modified specific to GA-X299 designate EX board with i9-9900X CPU and other PCI devices that my system has. It means it works perfectly with all functions in the system. (ex, USB mapping, Sleep/Wake, Thunderbolts, Intel CPU speed shift, PCI hardware information etc,.) See more detail in Post installation section.
What devices I am using: Hardwares
- CPU: Intel Core i9-9900X Skylake-X 10-Core 3.5 GHz (4.5 GHz Turbo) LGA2066.
- Motherboard: Gigabyte X299 Designare EX (Ver.1.0)
- GPU: AMD Radeon™ Pro W5700 Graphics Card
- Ram Memory: 128GB G.SKILL DDR4 16gb x 8ea, 3000mhz(OC)
- System Disks: 2 x WD SN750 2TB NVME, Samsung 960 EVO NVME 500gb (Win10)
- Power: EVGA Supernova 1300W G2
- Mouse & Keyboard: Razer Mamba, Apple Magic Keyboard and Trackpad 2
- Monitors: 2 x LG UltraFine 5K
- CPU Cooling System: NZXT Kraken X62 (RL-KRX62-02) Liquid Cooling
- Wifi & Bluetooth: AC1750 Dual Band Wireless Card, BCM94360CD PCI-E card
- Storages: 3.5″ Toshiba 3T HDD, 3.5″ Seagate 8T HDD
- Kensington SD5200T Thunderbolt 3 Docking Station
1. Bios setting
You can change the BIOS setting to Optimized Default and change it to the following settings. If possible, update the BIOS to the latest version. Depending on your Gigabyte boards and the BIOS version, there may be a difference in the names, but there seems to be no major difference. Once you have set up your MacOS installation, it’s a good idea to change it to your own configuration later.
1.) /M.I.T/Advanced Frequency Settings/
- Extreme Memory Profile: (X.M.P): Profile1
2.) /M.I.T/Advanced Frequency Settings/Advanced CPU Core Settings
- Active Cores Control: Auto
- Hyper-Threading Technology: Enabled
- Intel Turbo Boost Max Technology 3.0: Enabled
- Intel Speed Shift Technology: Enabled
- Enhanced Multi-Core Performance: Enabled/Disabled
3.) /BIOS/
- Boot Numlock State: Disabled/Enabled
- Security option: Setup
- Full-Screen Logo Show: Enabled
- Fast Boot: Disabled
- CSM Support: Disabled
4.) /BIOS/Secure Boot/
- Secure Boot Enable: Disabled
5.) /Peripheral/Thunderbolt Configuration/
- Security Level: No Security b.) Thunderbolt Device Boot option: Enabled
6.) /Peripherals/USB Configuration/
- XHCI Hand-off: Enabled
7.) /Chipset/
- VT-d: Disabled (If you use other virtual programs in macOS you could do enable with ‘dart=0’ option in config.plist)
8.) /Power/
- Platform power management: Disabled
9.) F10 /Save& Exit/
Mac Pro macOS 11.0.1 Big Sur System Setup
Below, one finds a detailed description of the Clean Install of macOS Big Sur – Special Mac Pro build. This also includes the MacPro EFI-Folder Preparation as well as the Mac Pro macOS Big Sur Installer Package and Mac Pro macOS Big Sur USB Flash Drive Installer Creation.
For creating USB installer, you need a real Mac or another Customac or there is some guide for “How to make bootable macOS USB installer in Windows” you could google search it.
Mac Pro macOS Big Sur – Installer package and a bootable USB Creation
To make the macOS Big Sur – Installer follow the individual steps below:
*You should have Big Sur downloaded from the Mac App Store
Verify your “Install Big Sur.app” for completeness. You should now have a complete macOS Big Sur Installer package in your /Applications Folder.
Follow the individual steps detailed below to successfully create a bootable Mac Pro macOS Big Sur USB Flash Drive Installer.
- 1.) Format a USB Flash Drive of your choice (source, named USB) [(Mac OS Extended (Journaled)] and a GUID partition table by means of Apple’s Disk Utility on any other Customac or Mac of your choice. This will create an empty Partition and a yet empty EFI-partition on your Mac Pro macOS USB Flash Drive Installer.
Note: By default, Disk Utility only shows partitions – you can press the View button and press See All Devices)
- 2.) With the macOS Big Sur Installer Package in your /Application Folder, connect your USB Flash Drive (named USB) and run the following terminal command:
sudo /Applications/Install\ macOS\ Big\ Sur.app/Contents/Resources/createinstallmedia --volume /Volumes/USB
- 3.) For successfully booting your MacPro macOS USB Flash Drive Installer, it must contain a valid EFI- Folder with an SMBIOS MacPro7,1 system definition. Follow below.
EFI-Folder Preparation
In order to successfully boot a macOS USB Flash Drive Installer or System Disk on a Customac system, both drives must be equipped with an EFI-Folder in their EFI partitions. In this section, we will prepare a fully equipped EFI-Folder with SMBIOS MacPro7,1 System definition.
1.) Download and unzip EFI.zip to your Desktop.
a) EFI – Basic (Use it for the first time installation)
b) EFI – Advanced (Use it for post installation)
2.) Download MountEFI tool to mount your USB’s Partitions.
a) Double Click MountEFI.command and pick your USB.
b) Go to your USB’s EFI folder in finder.
c) Replace the Basic EFI to the empty EFI you just mounted.
3.) Download GenSMBIOS tool
a) Double Click GenSMBIOS.command
b) Install MacSerial
c) Select (your USB’s EFI/OC/config.plist)
d) Generate SMBIOS (MacPro7,1) Write down somewhere
e) Generate UUID Write down somewhere
f) Check your Current SMBIOS
g) Replace your own SMBIOS information you’ve got above using PlistEdit tool
h) Save & Quit
The
Typepart gets copied to Generic -> SystemProductName.The
Serialpart gets copied to Generic -> SystemSerialNumber.The
Board Serialpart gets copied to Generic -> MLB.The
SmUUIDpart gets copied to Generic -> SystemUUID.
These details are mandatory to successfully run iMessage and FaceTime on your iMac Pro System.
4.) Edit TSCAdjustReset.kext
a) If you have a different core of CPU than 10 core like mine, you should edit for yours. It is so simple to fix it. If you have 12 cores, it means you have 24threads. Then you have to use ’23’ (24-1) rather than ’19’ (20-1). what if you have 18cores cpu? you must put ’35’.
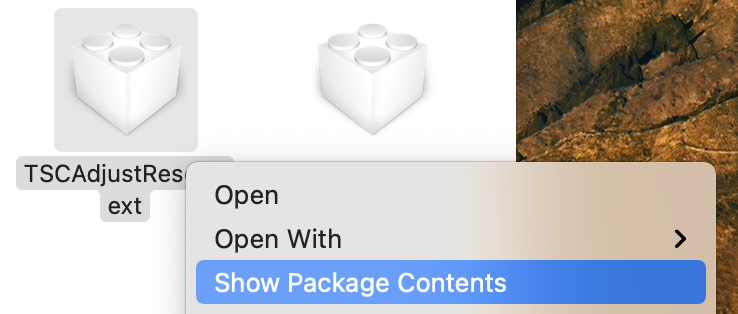

Edit and save it.
5.) Download ProperTree tool
a) Double Click ProperTree.command
b) Control+Command+O to select your config.plist
c) Control+Command+Shift+R to retrieve OC folder.
d) Save & Quit
This is very important procedure when you change something in your EFI
You now have a fully functional and bootable macOS Big Sur USB Flash Drive Installer.
Mac Pro macOS Big Sur Clean Install
Installation procedure is pretty much the same with other macOS installations. So I will skip this part but if you need that you could find one of my Golden Build guides.
Q&A
Basic EFI is really good to start to install Big Sur in your X299.
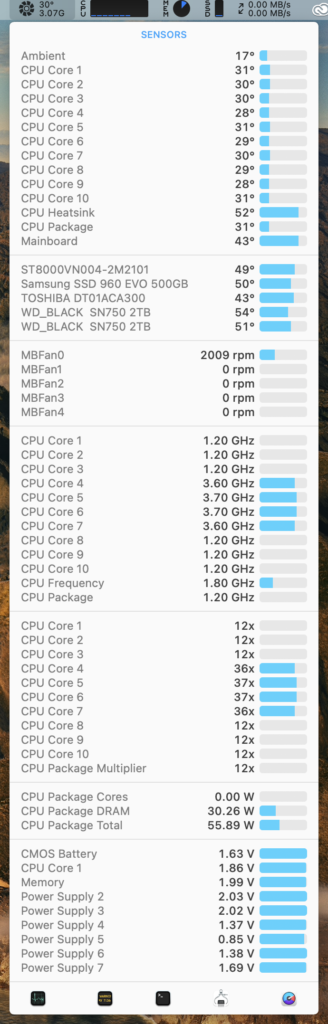
Advanced EFI is good for after the installation. It includes USB Mapping, the most annoying ans time consuming. Also, it has custom FakeSMC with plug-in kexts to show your CPU
I like to use Clover but for Big Sur, Opencore is winner. Clover has the easiest gui and the configuration app. But OpenCore is still working on it. There is Pro and Con of both boot loaders.
Post Installation Process [TBD]
USB Mapping
USB mapping is done on Advanced EFI, so Bluetooth and other USB functions are perfectly working.
Memory configuration

For changing the Memory information and getting rid of the notification at the start macOS, use this guide.
PCI devices configuration

I already patched for the basic device properties using config.plist and *.aml files in patch folder. You may have different NVME devices than mine. Open NVME.aml file on MaciASL app. You can find NVME’s model part and rename it for yours.

Opencore bootloader update
Currently 0.6.4 up to dated.
Big Sur 11.1 compatible.
Last modified: December 22, 2020


Can you create an OpenCore EFI for the Gigabyte Z370 Aorus Gaming 7 Board
Would this work with a i9-9980XE CPU and Vega Frontier GPU?
what about video how doest it works? acceleration on? codes?